Unlock the Secret to Fool-Proof, Juicy Pan Seared Chicken Breast in Under 30 Minutes
Are you tired of dry, rubbery chicken breasts that leave you wishing for more? Do you dream of a weeknight dinner that’s both quick to prepare and incredibly flavorful? Look no further! Mastering the art of juicy pan seared chicken breast is easier than you think, and with our fool-proof guide, you’ll be serving up perfectly tender, golden-brown chicken in less than 30 minutes. This isn't just another chicken recipe; it's a game-changer for anyone looking to elevate their everyday cooking.
For years, chicken breast has been a staple in countless kitchens – and for good reason. It’s lean, versatile, and packed with protein. However, its low-fat content often makes it prone to drying out, especially when not cooked correctly. The beauty of pan-searing lies in its ability to create an incredible crust while locking in moisture, delivering a succulent interior that will make you wonder why you ever settled for less. We’re sharing time-tested techniques and a few clever tricks to ensure your pan-fried chicken breast is consistently moist, tender, and bursting with flavor.
The Core Method: Achieving That Perfect Juicy Pan Seared Chicken Breast
The magic of creating a truly juicy pan seared chicken breast starts with understanding the power of heat. It’s a two-stage cooking process that delivers the best of both worlds: a beautiful, savory crust and a perfectly cooked, tender interior. Here’s how to do it:
- Preparation is Key: Begin by preparing your chicken breasts. If they are uneven in thickness, which most are, you'll want to pound them to an even thickness of about 1 to 1.5 inches. This ensures uniform cooking, preventing thinner parts from drying out while thicker sections finish cooking. For an in-depth look at this crucial step, read our article: The Secret to Perfectly Juicy Pan Seared Chicken: Pound It Even. Pat the chicken thoroughly dry with paper towels – moisture is the enemy of a good sear!
- Season Generously: Once pounded and dried, season your chicken generously on both sides. We’ll delve deeper into seasoning choices shortly, but don't be shy here. The seasoning contributes significantly to the flavor and the crust.
- High Heat Sear: Place your pan (a heavy-bottomed skillet, cast iron, or stainless steel works best) over high heat and add your preferred cooking fat. Once the fat is shimmering but not smoking, carefully add the chicken breasts. Sear for just 3-5 minutes per side. You're looking for a gorgeous, deep golden-brown crust. This initial high-heat blast triggers the Maillard reaction, creating complex flavors and that irresistible texture.
- Lower Heat to Finish: After searing both sides, reduce the heat to medium-low. This allows the chicken to cook through gently without burning the crust or drying out the inside. Continue cooking for another 5-10 minutes, depending on thickness, flipping occasionally until the internal temperature reaches 165°F (74°C). A meat thermometer is your best friend here for perfectly cooked, safe chicken every time.
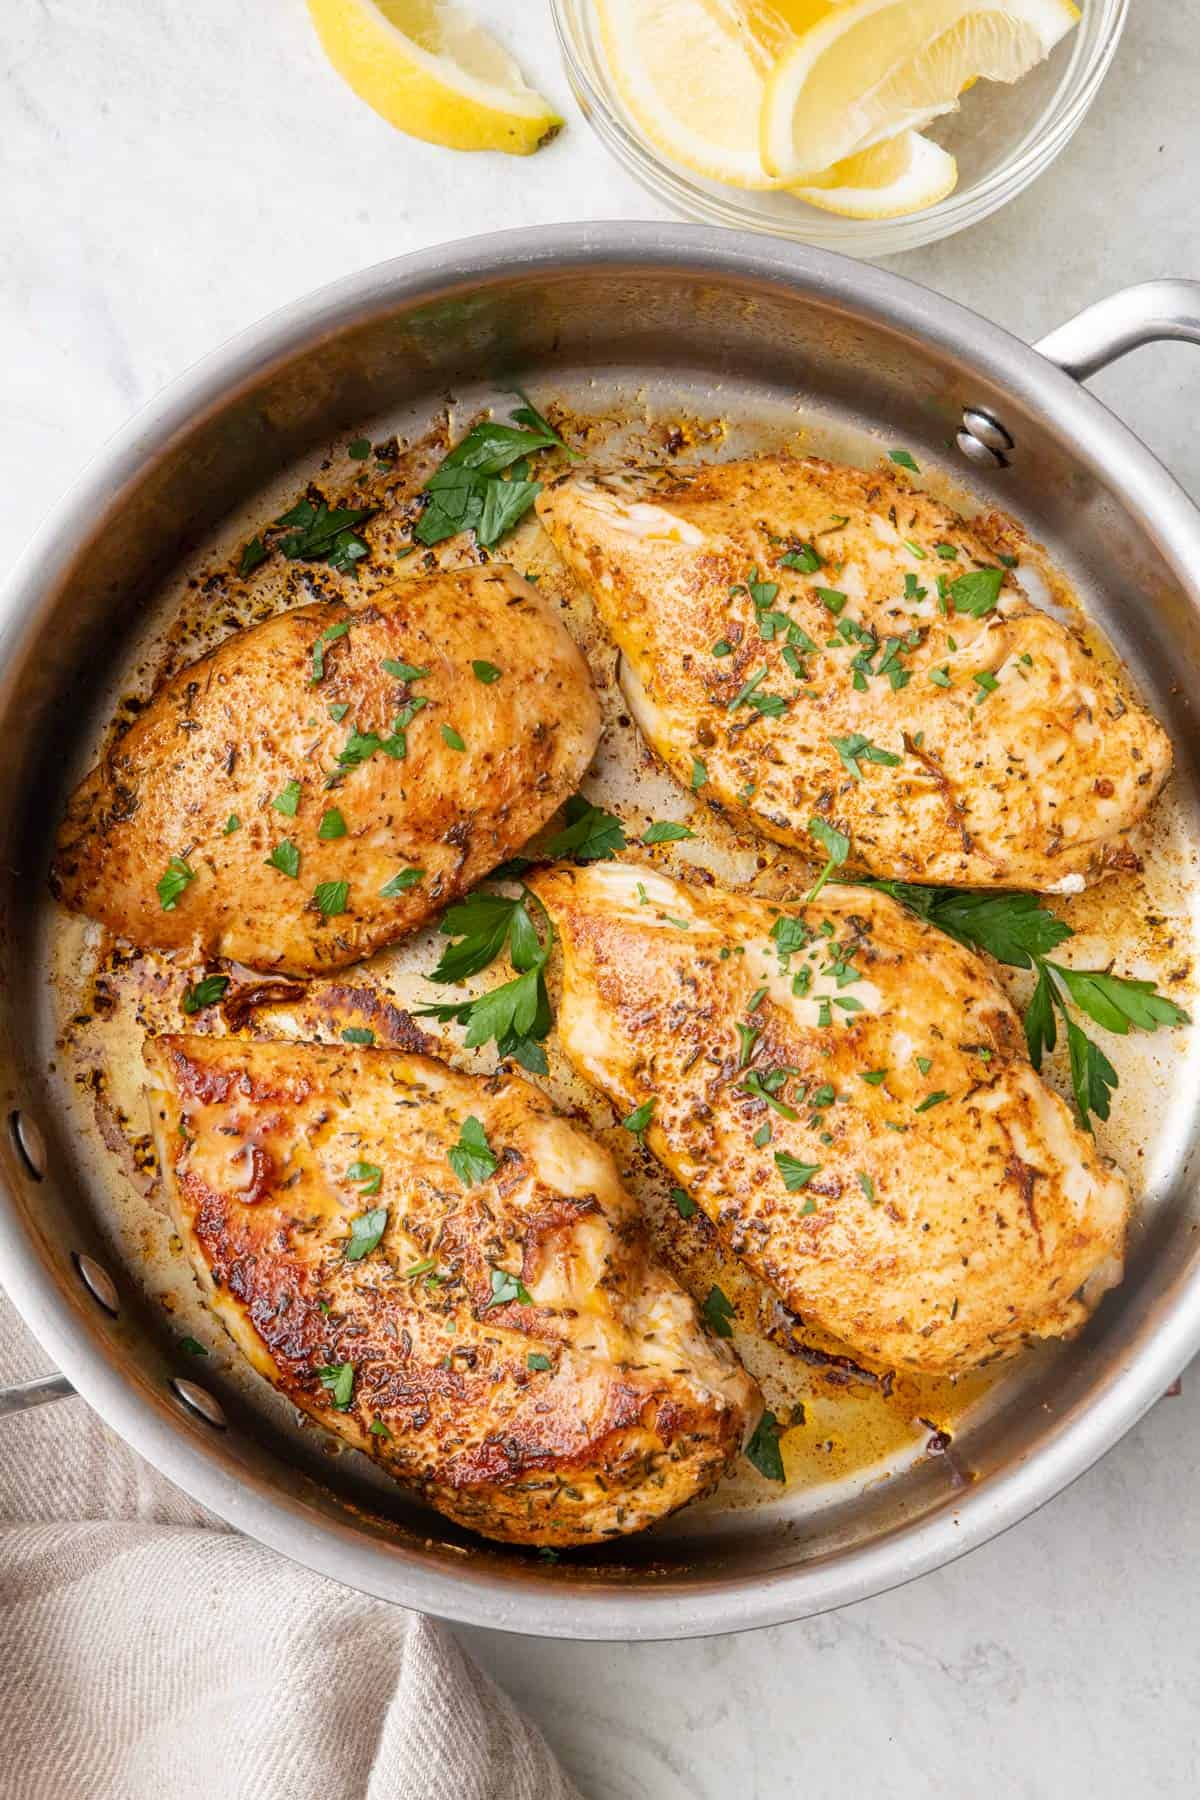
- Rest and Enjoy: Once cooked, remove the chicken from the pan and let it rest on a cutting board for at least 5 minutes before slicing. This resting period is vital, allowing the juices to redistribute throughout the meat, ensuring every bite of your juicy pan seared chicken breast is incredibly moist. Skipping this step is a common mistake that leads to dry chicken!
Mastering Flavor: Seasoning Your Chicken to Perfection
While the cooking method is key to texture, the seasoning is what truly makes your juicy pan seared chicken breast sing. A well-seasoned chicken transforms a simple meal into something truly memorable. Our go-to chicken seasoning blend provides a fantastic base, featuring a balanced mix of aromatics and spices:
- Garlic Powder: Adds a foundational savory depth.
- Chili Powder: Contributes a subtle warmth and earthy notes, without being overtly spicy.
- Ground Mustard: Offers a sharp, tangy kick that enhances the overall flavor profile.
- Salt: Essential for bringing out all the other flavors and tenderizing the meat.
For roughly 1.5 lbs of boneless, skinless chicken breast, aim for about 1.5 tablespoons of this seasoning blend. Don’t be afraid to adjust to your personal preference!
Beyond the Basics: Customizing Your Flavors
This recipe is incredibly adaptable, making it easy to put your own spin on it. Consider these fantastic seasoning swaps to keep things exciting:
- Classic Salt and Pepper: Sometimes, simplicity is best. High-quality salt and freshly cracked black pepper can highlight the chicken’s natural flavor beautifully.
- Italian Seasoning: For a Mediterranean flair, this blend of oregano, basil, thyme, and rosemary is perfect.
- Everything Bagel Seasoning: A trendy and delicious option, offering a mix of sesame seeds, poppy seeds, dried garlic, and onion – great for a crunchy, savory crust.
- Ranch Seasoning: A family-friendly favorite that delivers a creamy, herbaceous flavor profile.
- Smoked Paprika & Cumin: For a smoky, subtly spicy taste that pairs wonderfully with Mexican-inspired dishes.
- Lemon Pepper: Bright and zesty, perfect for a lighter, refreshing meal.
Experiment with different combinations to find your signature flavor. The beauty of this juicy pan seared chicken breast recipe is its versatility!
Essential Tips for Pan-Seared Perfection: Tenderizing, Fat Choice & More
Beyond the core cooking method and seasoning, a few expert tips can make all the difference in achieving truly exceptional juicy pan seared chicken breast.
The Power of Pounding for Evenness and Tenderness
As mentioned, pounding your chicken to an even thickness is paramount. It’s not just about aesthetics; it’s about culinary science. When chicken breasts are uneven, the thinner parts cook much faster than the thicker parts. By pounding them to a uniform thickness, you ensure:
- Even Cooking: No more dry edges or undercooked centers. Every part of the chicken reaches perfect doneness simultaneously.
- Faster Cooking: Thinner chicken cooks quicker, shaving precious minutes off your total cooking time.
- Enhanced Tenderness: Pounding breaks down some of the muscle fibers, resulting in a more tender bite.
Place your chicken breasts between two sheets of parchment paper or plastic wrap and use a meat mallet or the bottom of a heavy pan to pound them until they reach your desired uniform thickness (typically 1 to 1.5 inches). This simple step is a secret weapon for incredibly juicy pan seared chicken breast.
Butter vs. Oil: The Best Fat for Your Sear
The choice of cooking fat significantly impacts both flavor and the quality of your sear. While olive oil is a popular pantry staple, it has a lower smoke point that can lead to burning, especially during high-heat searing. We find butter to be a superior choice for several reasons:
- Flavor: Butter imparts a rich, nutty flavor that complements chicken beautifully.
- Golden Crust: The milk solids in butter contribute to a gorgeous, golden-brown crust.
However, butter has a lower smoke point than some oils, so it's often best to combine it with a high-smoke point oil for initial searing or simply use clarified butter (ghee). For a more detailed comparison of cooking fats and their impact on your chicken, check out our guide: Butter vs. Oil: The Best Way to Sear Your Chicken Breast Juicy.
If you prefer an oil-only approach, avocado oil is an excellent alternative due to its high smoke point and neutral flavor, allowing the chicken's seasoning to shine. Olive oil can also be used, but watch your heat carefully to prevent burning.
Don't Overcrowd the Pan!
This is a common mistake that hinders a good sear. Overcrowding your pan lowers the temperature of the cooking surface, essentially steaming the chicken instead of searing it. Work in batches if necessary, ensuring each piece of chicken has enough space to make direct contact with the hot pan, creating that coveted golden-brown crust.
Storing and Reheating Your Delicious Leftovers
One of the best things about cooking a delicious batch of juicy pan seared chicken breast is having leftovers for easy meals throughout the week. Proper storage ensures your chicken remains safe and flavorful.
Refrigeration
Allow your cooked chicken breast to cool completely before transferring it to an airtight container. Store it in the refrigerator for up to 3-5 days. This makes for excellent meal prep, whether you're slicing it for salads, sandwiches, or adding it to pasta dishes.
Reheating
To reheat refrigerated chicken while maintaining its juiciness, place it on a microwave-safe plate and microwave on high for 60-90 seconds. Be careful not to overheat, as this can dry it out. Alternatively, you can gently warm it in a skillet over low heat with a splash of broth or water to keep it moist.
Freezing
Cooked chicken breast freezes beautifully, extending its shelf life significantly. Once cooled completely, transfer the chicken breasts to a freezer-safe gallon-size bag or airtight container, removing as much air as possible to prevent freezer burn. It can be frozen for up to 3 months.
To cook from frozen, simply transfer the chicken breast to the refrigerator and let it thaw overnight. Once thawed, you can reheat it using the microwave or stovetop method mentioned above.
Conclusion
Gone are the days of dry, uninspired chicken dinners. With these fool-proof techniques, you're now equipped to create perfectly juicy pan seared chicken breast that's ready in under 30 minutes. From the critical step of pounding for even cooking to the choice of the right searing fat and the importance of resting, each element contributes to a consistently tender, flavorful, and incredibly satisfying meal. Experiment with seasonings, pair it with your favorite sides, and savor the taste of truly amazing stovetop chicken. Your weeknight dinners just got a whole lot more delicious!
